How to Delete a Blank Page in the Microsoft Word Document
Microsoft Word user, if you do not need to have blank pages existing in the middle of your document or extra pages at the end, this article will help you know how to delete those pages step by step.
These extra pages could be caused by tables, pressing the ENTER key many times, unwanted \ breaks, unintentional page breaks, extra paragraph markers, and many other things.
Therefore, in this article I will show you how to delete blank and extra pages in Microsoft Word. You will look very unprofessional because of the blank pages appearing in the middle of word documents.
I will use Microsoft Office 2016 in this guide to explain systematically on how to delete blank pages, but if you do not have it installed on your computer you can follow along with any other version of Microsoft word, as good much the most features applies to all versions.
How to Delete a Blank Page in the Middle of a Word Document
If you are engaged with a large word document and you are about to present it or print it, it is a better to review for blank pages and extra final pages in the middle or end of documents.
To do this, press CTRL + SHIFT + 8, or go to the Home tab and click the paragraph icon.
This key combination shows paragraph markers (¶) at the end of every paragraph and each blank line – basically, whenever you press the ENTER button at the beginning of the extra blank page.
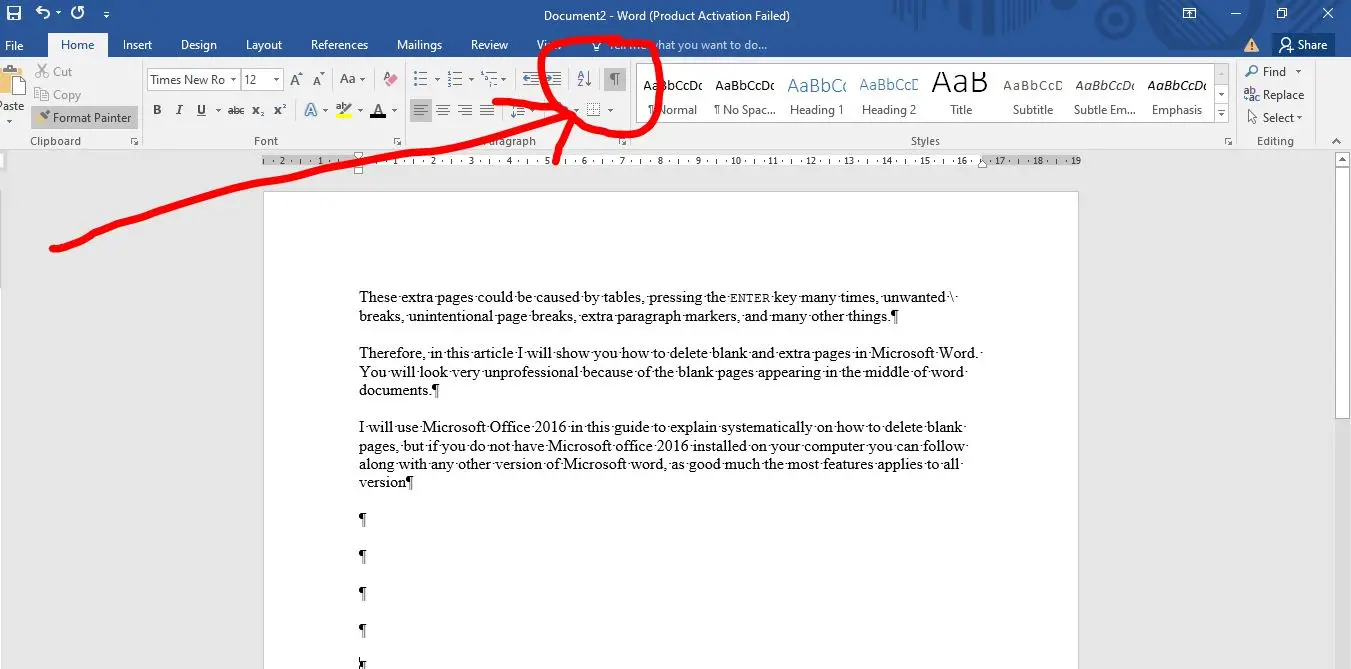
To remove these extra pages, highlight the paragraph markers with your mouse or trackpad and press the DELETE key. Remove remains markers with the BACKSPACE button.
You can also remove the blank page(s) by scrolling to the blank pages and pressing the BACKSPACE button until the paragraph markers cleared.
How to Delete an Extra Blank Page in a Word Document
To delete an extra blank page that might get added at the end of your document just follow the following steps,
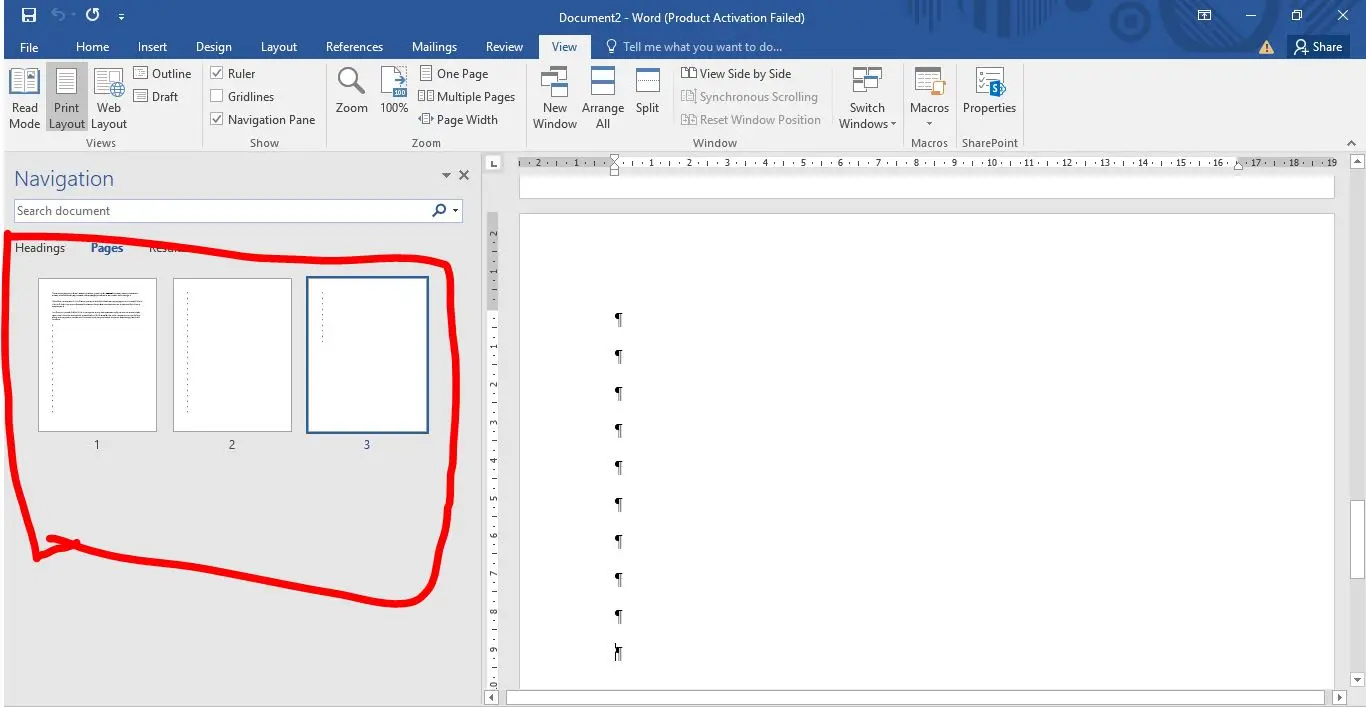
Step 1: Click the View tab:

Step 2: Go to the Navigation Pane. This will display a sidebar containing 3 tabs – Headings, Pages, and Results. Click on Pages to show all document pages in the sidebar.

view section screenshot
Step 3: The active page will be selected automatically. Click the extra blank page to select it and press the DELETE key on your keyboard to remove all blank pages.
Blank Page screenshot
You can also remove extra blank page by simply hitting the BACKSPACE button.
Final word
In this article, you learned step by step on how to remove blank pages in Microsoft Word, so you can make your documents appear more professional.
If you find this post helpful and useful, please share this Article.
Source: Microsoft website